Monday, February 24, 2014

Making a Reusable Sandwich Bag

In a continuing effort to "live green," my family and I choose to use reusable bags wherever and whenever we can. Because of its versatility, a popular item around here is the reusable sandwich bag. This is an extra small wet bag made of PUL that closes at the top with either snaps or a zipper. This post will demonstrate this quick and easy bag... there are only three lines to sew!

For tips and tricks for working with PUL, see this blog post.

Let's get sewing! 
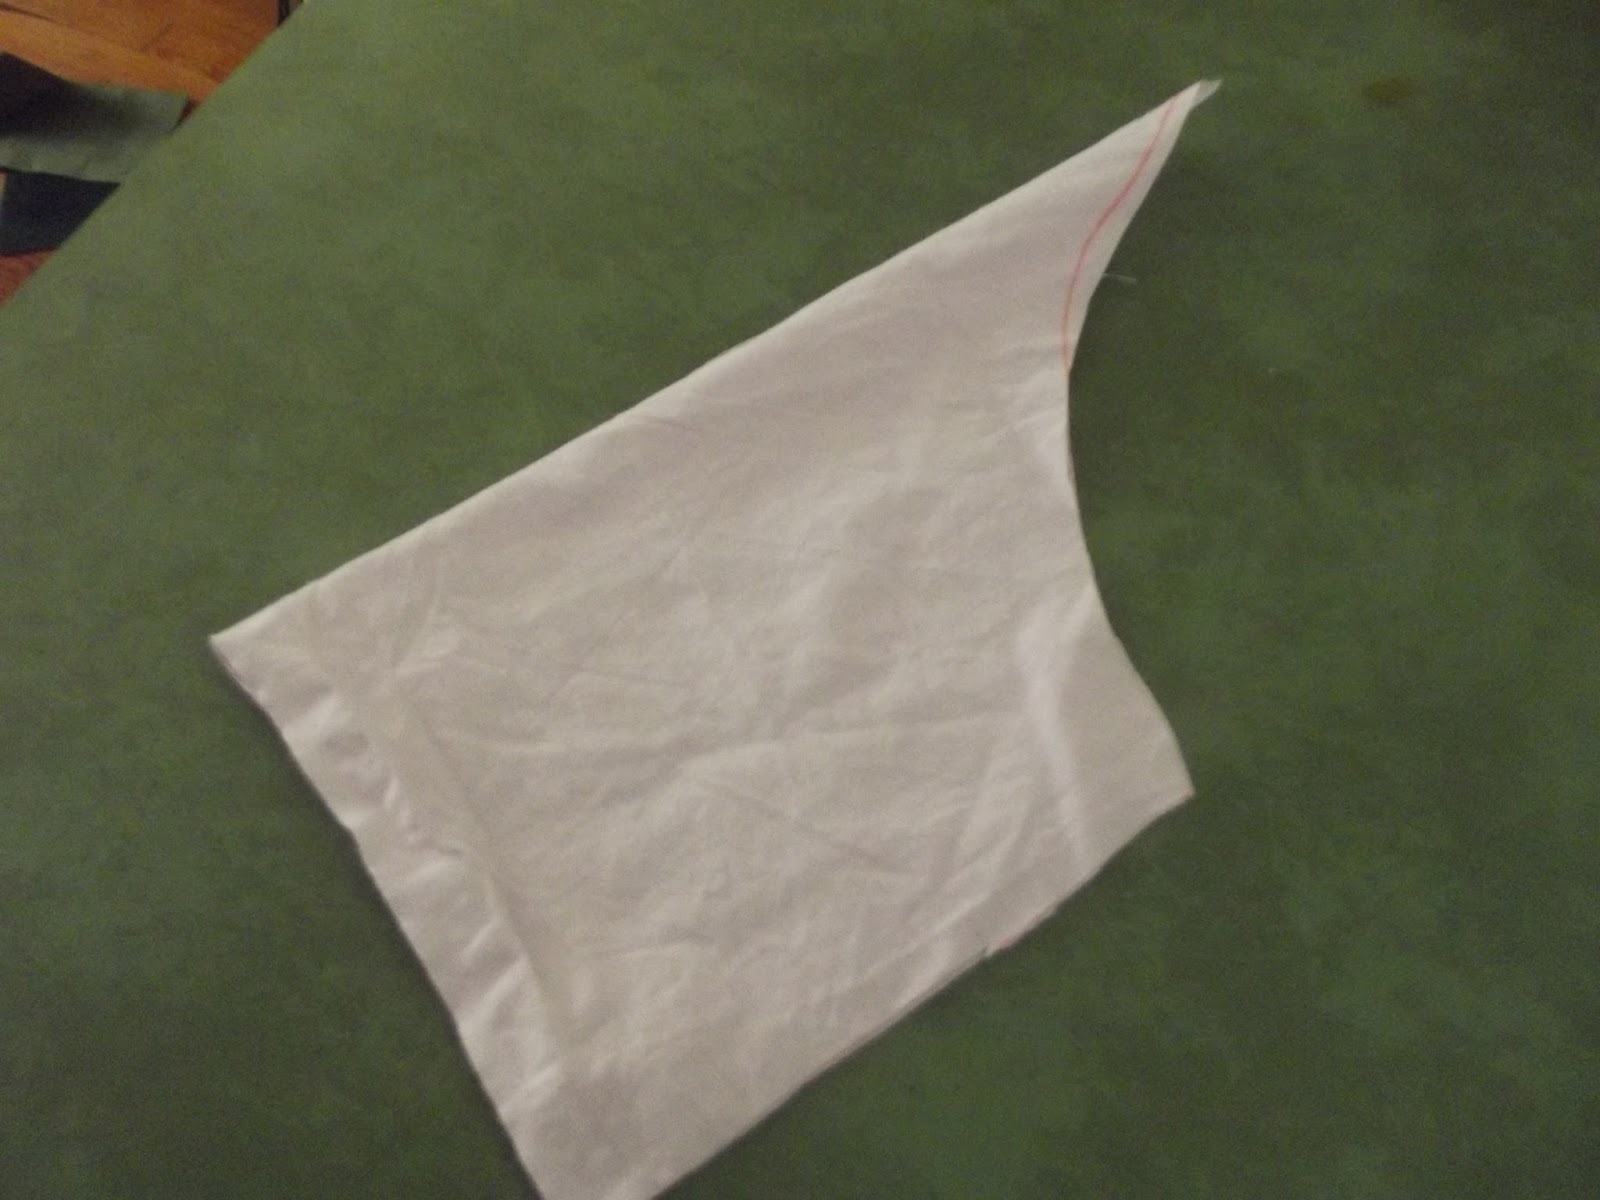
Cut a rectangle of PUL.

The size and shape don't matter very much, but a cut bigger than 8"x16" would be best.

Fold it in half, with the wrong side (shiny side) out.


Now, fold over an edge so you can see a strip of the "right" side.
Try to make it as wide or wider than your presser foot.

So now you have your large rectangle, folded in half with a strip of "right" side facing up and facing down.
There should be four layers of fabric between your presser foot and the feed dogs.

After you've sewn down one side, flip it over and sew down the other.

Here is a close-up, inside-out look at the seam. See all four layers there?

If the opening of your bag is uneven, just cut off the excess.

With the the bag right-side out, fold in the top and sew it down from the inside.

Go all the way around, being careful to keep the rest of the bag out of the way of the needle. 
You don't want to accidentally sew the bag shut!


At this point, you can add any type of closure you prefer. Or leave it open!
Enjoy your little bag, and go ahead and make some more. They're great for nearly everything!

Friday, February 21, 2014

Working with PUL

Okay, okay, so I'm terrible. But new habits can be hard to make, you know? Here I am, a month later, ready to make a blog post. I know I promised a Valentine's day post, but seeing as that's over with (ahem, last week), let's just forget I said that. Instead, I'd like to post a tip about working with PUL.

Have you ever heard of PUL? This fabric is really amazing. It's a polyester knit that's been laminated on one side to create a waterproof layer. Isn't that great? It's most commonly used in cloth diapers, but there are so many other uses! It can be expensive to buy and difficult to find, but it's quickly becoming my favorite kind of fabric.
PUL stands for poly-urethane laminate
Here is the back, or the shiny side

If you have some PUL, and have tried to sew with it, you may have noticed how hard it can be to work with. It slips and slides everywhere. But you cannot use pins, because any hole you make will remain in the fabric! And that's not so great when you're making an item that's meant to be waterproof. Another tricky thing about sewing with PUL is if you're sewing with the shiny side up, it will stick to your machine's presser foot, and you'll end up with ripples, stretching, and the whole thing will turn into a big mess. Not to worry, I've got a few tips here for working with PUL, and a fool-proof way to sew a seam without any fuss at all.

Once you get some PUL, make sure you're ready to sew. Yes, that means leaving the pins behind. It also means making sure you have a ball-point needle loaded in your machine. This type of needle will slip in and out of the fabric easily, and that's just what you need with a slippery-yet-sticky fabric like PUL. Another machine-oriented item that people find helpful is a walking foot. This acts just as it sounds. It will literally "step" up and down as you sew, keeping things from sticking. Since I don't have a walking foot, I have gone so far as to lift the presser foot up and down as I worked! I don't recommend that, honestly. I thought I might break my machine! I have also tried using tissue paper over the shiny side, and tearing it away afterwards. While that worked somewhat, I found it to be a bit of a hassle. Here is a fool-proof way to sew with PUL that will actually make your project sturdier and more likely, even more waterproof. The trick is never sew on the shiny side! Sounds easy, right?


When sewing a seam, one works from the inside. The "inside" of a PUL product is that dreaded shiny side. All I do to avoid it is simply fold over the edge. So, instead of sewing together two layers of fabric, there are four. When I want to hide the raw edge, I'll fold twice. In that case, there would be six layers of fabric. This makes the seam very strong and less likely to leak.


An in-depth look at the seam. See all four layers there?


The less passes you can make over the fabric (read: the less holes you poke), the better. I try to sew one-piece projects. Diaper covers, sandwich bags, wet bags, changing pads, shower caps, picnic blankets... you get the picture! Even if you're not sewing for a baby, there are plenty of uses for PUL. Get some for yourself and get sewing some waterproof things!


Next time, I'll make a quick and easy sandwich bag. There are only three lines to sew!

Monday, January 13, 2014

Happy (belated) New Year!

Hi there,

Just checking in to say Happy New Year! This post is almost two weeks late, but I'm hoping to bring about more crafty tips and things. I have lots of DIY projects coming up... Or rather, they came up, and these things happened. Somewhat of a "Holiday Round-Up CATCH-up."

Projects:
A baby's pumpkin costume
A turkey hood & cape
Napkins (these are Thanksgiving napkins)
An easy autumn leaf table runner
A "thankful" paper garland
Some sweaters-into-stockings
A striking star tree skirt
A Classic star tree topper
There is even a recipe for apple crisp and a homemade gingerbread GRAHAM CRACKER house!

After playing catch-up, I'd like to post about Valentine's Day. There will be lots of pictures and step-by-step instructions coming soon... Until then!

Friday, September 20, 2013

Boil Strip

Strip Cloth Diapers By Boiling Them
A Quick Tutorial


Hello everyone,

This post is for the parents out there who use cloth diapers on their babies' behinds. Even with a pretty solid wash routine, there will occasionally be the time to "start fresh." There are lots of different ways to "strip" diapers, but I found that boiling them works best on most residues.


Start by gathering your supplies:
The biggest pot you have, filled with water.
Tongs to handle the diapers with.
A heat-proof bowl to put them in afterward.


Bring the water to a rolling boil (a lid helps) and drop your natural fiber (cotton, bamboo, etc.) diapers or diaper inserts into the pot. Most likely there will be a "boil-up," so stand back!
Put one or two diapers in the boiling water and wait at least 10 minutes. It helps to stir them to keep them submerged. Using the tongs, wring off what water you can, and put them in the bowl.


It's tempting to throw another diaper right in the hot pot, but DON'T! First, look at the water. Is it mucky? Cloudy with a yellowish-greenish tint? I call it muck.


Pour out the muck and use new water each time. And yes, wait for it to boil. "Wait for it to boil" is the most annoying part of this method, but hey- it works. And if you're not doing all that many diapers, it's no big deal.


TIPS:
*Only use this method for natural fiber diapers and inserts. This means cotton, bamboo, hemp, etc. I wouldn't do this with a stay-dry polyester or a waterproof knit like PUL. Natural fibers only.

*Use sturdy tongs, these babies get hot!

*Stirring and resubmerging the diapers will bring a faster boil (the hotter the water, the better the rinse). Stand back!

*If your diapers or diaper inserts have plastic snaps on them, try not to let them come in contact with the sides of the pot. They can crack!

*You can have multiple burners going on the stove for handling lots of batches of diapers, but take care. You will probably give your kitchen a steam bath.

*Try pouring the discarded hot water down the bathtub drain. It's a great way to keep the drain cleared out.

*Lots of water is the trick to this method. Even if you can't be bothered to boil diapers, hot water rinses in your washing machine will bring the suds out. Add boiling water to the machine if you have to! Rinse, rinse, rinse until all the suds are gone.

*Remember, if your diapers stink when they shouldn't, or they aren't as absorbent as they used to be, you have some sort of build-up and you need to rinse it out.

*After stripping your diapers, try tweaking your wash routine a bit to avoid build-up issues in the future.


***I hope this tutorial was helpful. Please note that I can not guarantee any kind of results with these tips, and am not responsible if your stripping endeavor goes astray. Take care not to damage your diapers or do anything that could void your warranty.

Tuesday, September 10, 2013

We recently received tickets to a Renaissance Faire. For those who are not familiar, the fairgrounds are done up in a medieval-style way, with food and entertainment in keeping with the theme. There are giant turkey legs and jousting duels, and being the nerd I am, it sounds like so much fun to me.

Another big part of the festivities are costumes. Plenty of people don't dress up, but lots and lots of people do. Did I mention I'm a nerd for this stuff? Of course I wanted to dress up too! B decided to go as a wizard, I wanted to be an elf (haha, a height joke), and we decided baby C would look really cute as a fairy (or a pixie, if she was being particularly naughty... just change the butterfly wings to dragonfly wings). Anyway, I had bought a cute pair of fairy wings for five bucks, and the costume just looked so plain. I wanted one of those hats that looks like an inverted flower. Enter: creative burst.

I had some pink fabric lying around that wasn't going towards any special project. Perfect. Here you have my *quick* hat that I made while baby C fussed played nicely on the floor by my feet. (And she SO didn't pick up a dog bone and put it in her mouth while I was distracted. Gross)

I started with the pink fabric, folded in half. This particular fabric didn't seem to have a wrong side per se, but be sure to keep the right sides together when you fold yours. I traced a quick scoop. I left a flat side for her neck, and the adjoining flat side for her face.

Then I serged them together really quick. Remember, just sew the scoop! Leave the flat sides open. If you don't have a serger, you could just as easily use a zig-zag stitch on the edge, and then reinforce it with a straight stitch. If you do have a serger, remember to test the thread tension on a double layer of scrap fabric before beginning! Since this was a quick (read: sloppy) hat, I just adjusted the tension as I went, and it turned out okay.

I also cut out 4 petal shapes (really 8, since the fabric was folded in half when I did this) to go around the face part. *Actually, I only cut out 3, planning on only using 3 petals and then one of them had my marker tracings on it, and WHOOPS, I had to cut out more... then I decided on four petals. Oh well, these things happen.
I serged around the outer parts, and turned the whole project, petals and hat, inside out.
I laid out the petals where I wanted them to be and serged them on backwards. It seems odd, but I did this so I could fold back the petals and topstitch them back. This will also keep the petals off of the face.
I put a couple of quick squares of hook and loop (one of each, duh), and it was done. Its not perfect; I would have liked to have layered the petals a bit better, but it was pretty darn good for a half hour. Check out the finished product! This was before I put the hook and loop on.
For those of you looking for a quick and easy craft, I hope this helped! Of course, you can make your own adaptions to it, and please do remember to measure your own size that you need. I didn't use measurements, I just used the baby's head.

Anon, my fair readers! Yay and verily sew your fairy flower hats... We'll be at the renaissance faire with ours!

Welcome

Testing, testing... this is a test of the Sew Very Childish broadcasting network. Stay tuned for plenty of crafting! I'll be posting lots of tips, tutorials, and anecdotes on this page. This blog is meant as a complement to my Etsy shop, SewVeryChildish. Please stop by again- I'll be back soon!
A little bit about this picture: This is a photo taken from our honeymoon in Alaska. We took a scenic train from Anchorage to Seward (to catch a cruise ship). Good thing the train was all glass- I was able to capture this panoramic beauty!