Tuesday, March 11, 2014

Making a PUL Diaper Cover


Here's a great use for PUL... A diaper cover! Talk about containing messes and needing a leak-proof way to do that. This will be a "size 3" diaper cover, because that's the size my little mess-maker is currently wearing. We will be using a 19"L by 13"W scrap of PUL, a little over 2 yards of fold-over elastic, and some hook and loop for the closure (Velcro is an example).


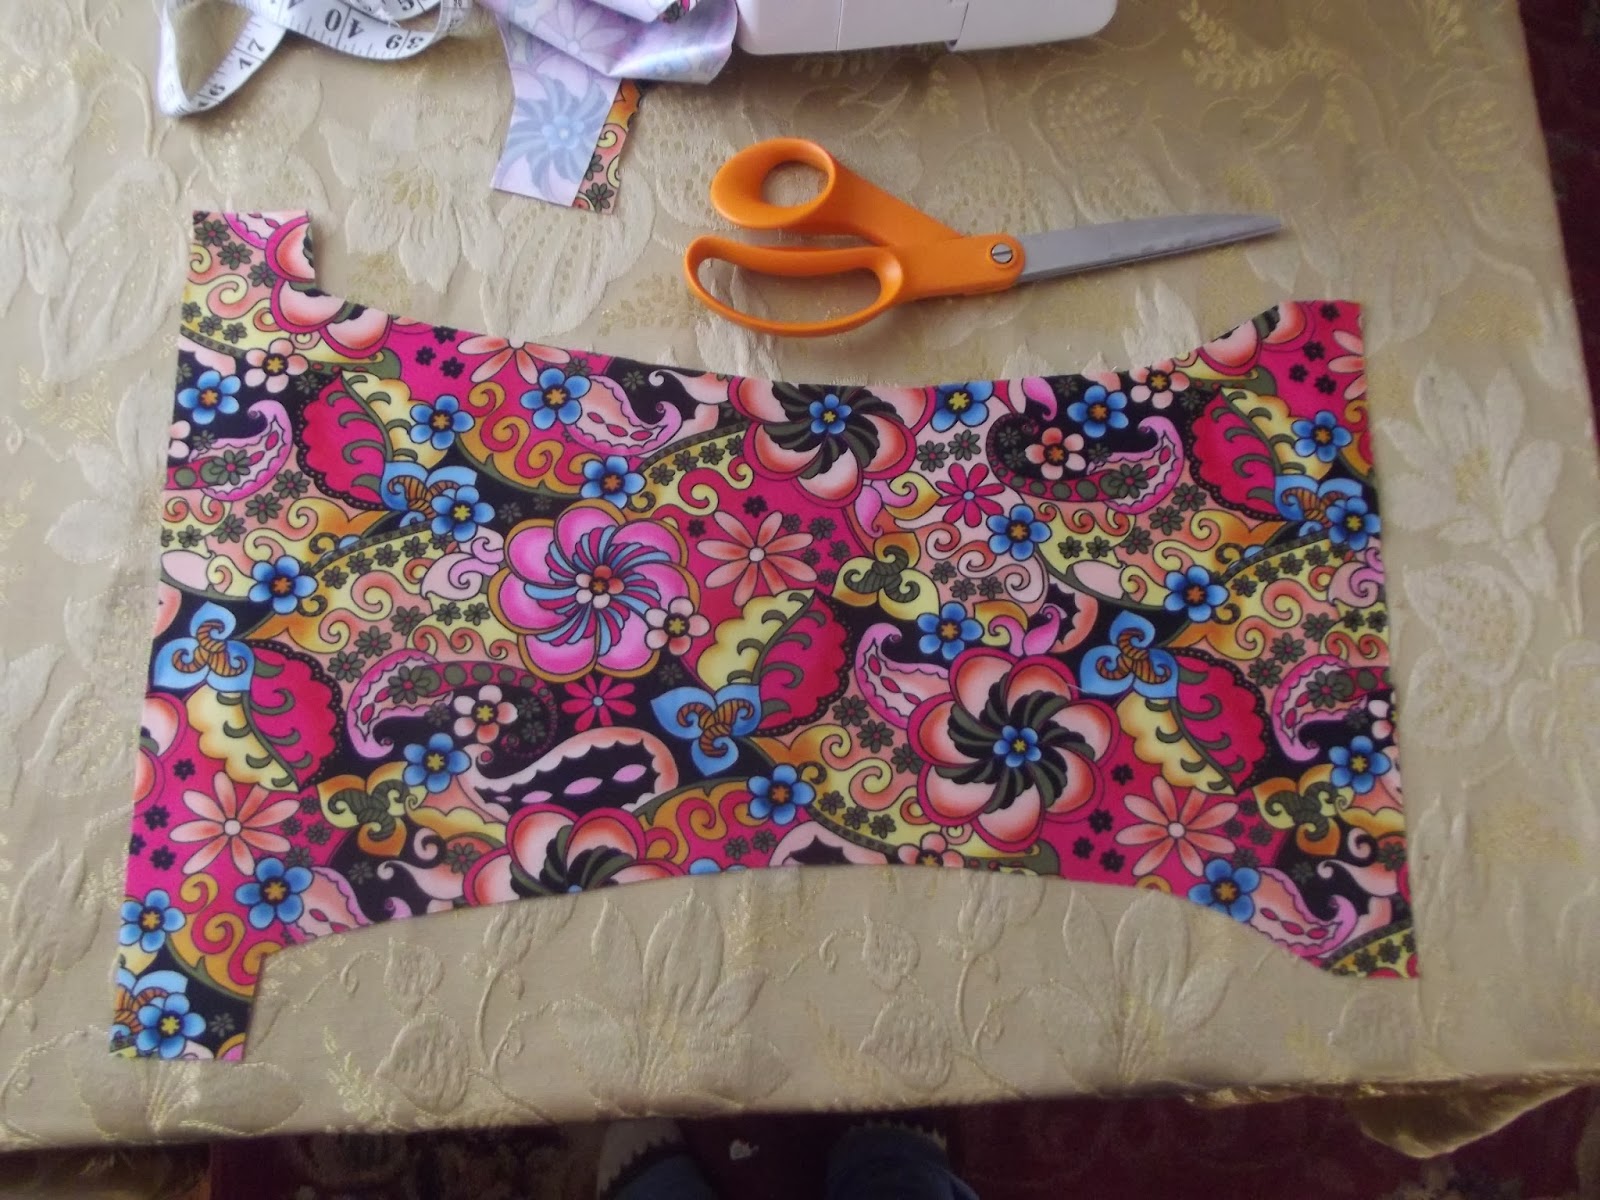
I use a template from other diapers I have made, but you could trace around a diaper you currently have. Or free-hand it! First, I fold the fabric in half, then I place the template on, then I cut both layers of fabric at once to keep things symmetrical. Once your cover is cut out, you're ready to add elastic.


Fold-over elastic is a great thing. Instead of having to be sewn in a hidden casing, it's folded around an edge of fabric and stretched while sewing. Once you get the hang of it, it's a very convenient way to use elastic on the outside of a project.


Lay the elastic so the wrong side (soft side) is facing you. Lay the back of your diaper cover over it, and line it up with the middle of the elastic.

The elastic will then fold over very easily over the top, and you can put it all under your presser foot. 
Make a PUL sandwich. 

 Once everything is situated, you can stretch the elastic over the PUL and get sewing.


Use a wide zig-zag stitch so that you can get the maximum stretch out of your diaper cover. Starting at the back, stretch the elastic as far as it will go, while sliding in the PUL so it's flush with the inside crease. Stretch your elastic, then pull some more! (It helps to keep a hand behind the machine to guide the fabric out, since you will be working against the feed dogs by stretching toward you.) Stretch as much as you can for the back of the cover. When you reach the tabs, don't stretch it at all. Before you reach the end, snip the elastic (not all the way through) so you can turn the corner without much bulk.


Then comes the back of the leg, where you will also want to stretch as much as you can. When I reach the front of the leg, I only stretch half as much. And when I reach the front, I don't stretch at all. Go all the way around, and meet the elastic at the back. Sew back and forth a bit to lock up the stitches.

A quick reference as you sew:
Back: Full stretch (stretch as much as you can, then stretch some more!)
Tabs: No stretch at all
Back leg/buttocks: Full stretch (most important place to get a full stretch of elastic)
Front leg: Half stretch
Front: No stretch at all
Front leg: Half stretch
Back leg/buttocks: Full stretch
Tabs: No stretch at all
Back: Full stretch


Nice work! See how the back puckers out, but the front lays flat? Now you'll need some way to keep the diaper on. I like hook-and-loop for the snuggest fit. Sew a strip of loop (soft) across the front. Remember to switch your stitch to a straight line!


For tabs, I like to sew the hooks and loops onto a strip of fold-over elastic before attaching them to the diaper. This way, I have a little bit of stretch as I'm putting the diaper on. Also, I like to trim the corners, so it's not a sharp angle rubbing against the baby's skin. Sew on a bit of loop (soft) and a bit of hook (scratchy), one for each of the two tabs. Then attach them to the diaper. The soft bits will act as a "laundry" tab. Stick the loop parts here when the diaper is not in use. Remember to keep the loops on the outside!


Trim up the threads and admire your work!


Go ahead and try it on... 


Enjoy your new diaper cover!


Sunday, March 2, 2014

Storing Sharps

Sewing can be some prickly business. Not only are bent or broken pins and needles dangerous to work with, but just tossing them in the trash is a big no-no. An empty spices shaker is the perfect thing to use!


I just re-used one that was destined for the recycling bin (and since #5 plastics cannot be recycled, I actually saved one from a landfill). The holes are perfect for dropping them in, without making them too easy to shake out. The lid makes it perfectly safe to use, even if travelling. The next time you're ditching an old spice shaker, think about adding it to your sewing room!


Remember, never sew with a bent or dull needle... that's just asking for trouble!

Monday, February 24, 2014

Making a Reusable Sandwich Bag

In a continuing effort to "live green," my family and I choose to use reusable bags wherever and whenever we can. Because of its versatility, a popular item around here is the reusable sandwich bag. This is an extra small wet bag made of PUL that closes at the top with either snaps or a zipper. This post will demonstrate this quick and easy bag... there are only three lines to sew!

For tips and tricks for working with PUL, see this blog post.

Let's get sewing! 
Cut a rectangle of PUL.

The size and shape don't matter very much, but a cut bigger than 8"x16" would be best.

Fold it in half, with the wrong side (shiny side) out.


Now, fold over an edge so you can see a strip of the "right" side.
Try to make it as wide or wider than your presser foot.

So now you have your large rectangle, folded in half with a strip of "right" side facing up and facing down.
There should be four layers of fabric between your presser foot and the feed dogs.

After you've sewn down one side, flip it over and sew down the other.

Here is a close-up, inside-out look at the seam. See all four layers there?

If the opening of your bag is uneven, just cut off the excess.

With the the bag right-side out, fold in the top and sew it down from the inside.

Go all the way around, being careful to keep the rest of the bag out of the way of the needle. 
You don't want to accidentally sew the bag shut!


At this point, you can add any type of closure you prefer. Or leave it open!
Enjoy your little bag, and go ahead and make some more. They're great for nearly everything!

Friday, February 21, 2014

Working with PUL

Okay, okay, so I'm terrible. But new habits can be hard to make, you know? Here I am, a month later, ready to make a blog post. I know I promised a Valentine's day post, but seeing as that's over with (ahem, last week), let's just forget I said that. Instead, I'd like to post a tip about working with PUL.

Have you ever heard of PUL? This fabric is really amazing. It's a polyester knit that's been laminated on one side to create a waterproof layer. Isn't that great? It's most commonly used in cloth diapers, but there are so many other uses! It can be expensive to buy and difficult to find, but it's quickly becoming my favorite kind of fabric.
PUL stands for poly-urethane laminate
Here is the back, or the shiny side

If you have some PUL, and have tried to sew with it, you may have noticed how hard it can be to work with. It slips and slides everywhere. But you cannot use pins, because any hole you make will remain in the fabric! And that's not so great when you're making an item that's meant to be waterproof. Another tricky thing about sewing with PUL is if you're sewing with the shiny side up, it will stick to your machine's presser foot, and you'll end up with ripples, stretching, and the whole thing will turn into a big mess. Not to worry, I've got a few tips here for working with PUL, and a fool-proof way to sew a seam without any fuss at all.

Once you get some PUL, make sure you're ready to sew. Yes, that means leaving the pins behind. It also means making sure you have a ball-point needle loaded in your machine. This type of needle will slip in and out of the fabric easily, and that's just what you need with a slippery-yet-sticky fabric like PUL. Another machine-oriented item that people find helpful is a walking foot. This acts just as it sounds. It will literally "step" up and down as you sew, keeping things from sticking. Since I don't have a walking foot, I have gone so far as to lift the presser foot up and down as I worked! I don't recommend that, honestly. I thought I might break my machine! I have also tried using tissue paper over the shiny side, and tearing it away afterwards. While that worked somewhat, I found it to be a bit of a hassle. Here is a fool-proof way to sew with PUL that will actually make your project sturdier and more likely, even more waterproof. The trick is never sew on the shiny side! Sounds easy, right?


When sewing a seam, one works from the inside. The "inside" of a PUL product is that dreaded shiny side. All I do to avoid it is simply fold over the edge. So, instead of sewing together two layers of fabric, there are four. When I want to hide the raw edge, I'll fold twice. In that case, there would be six layers of fabric. This makes the seam very strong and less likely to leak.


An in-depth look at the seam. See all four layers there?


The less passes you can make over the fabric (read: the less holes you poke), the better. I try to sew one-piece projects. Diaper covers, sandwich bags, wet bags, changing pads, shower caps, picnic blankets... you get the picture! Even if you're not sewing for a baby, there are plenty of uses for PUL. Get some for yourself and get sewing some waterproof things!


Next time, I'll make a quick and easy sandwich bag. There are only three lines to sew!