
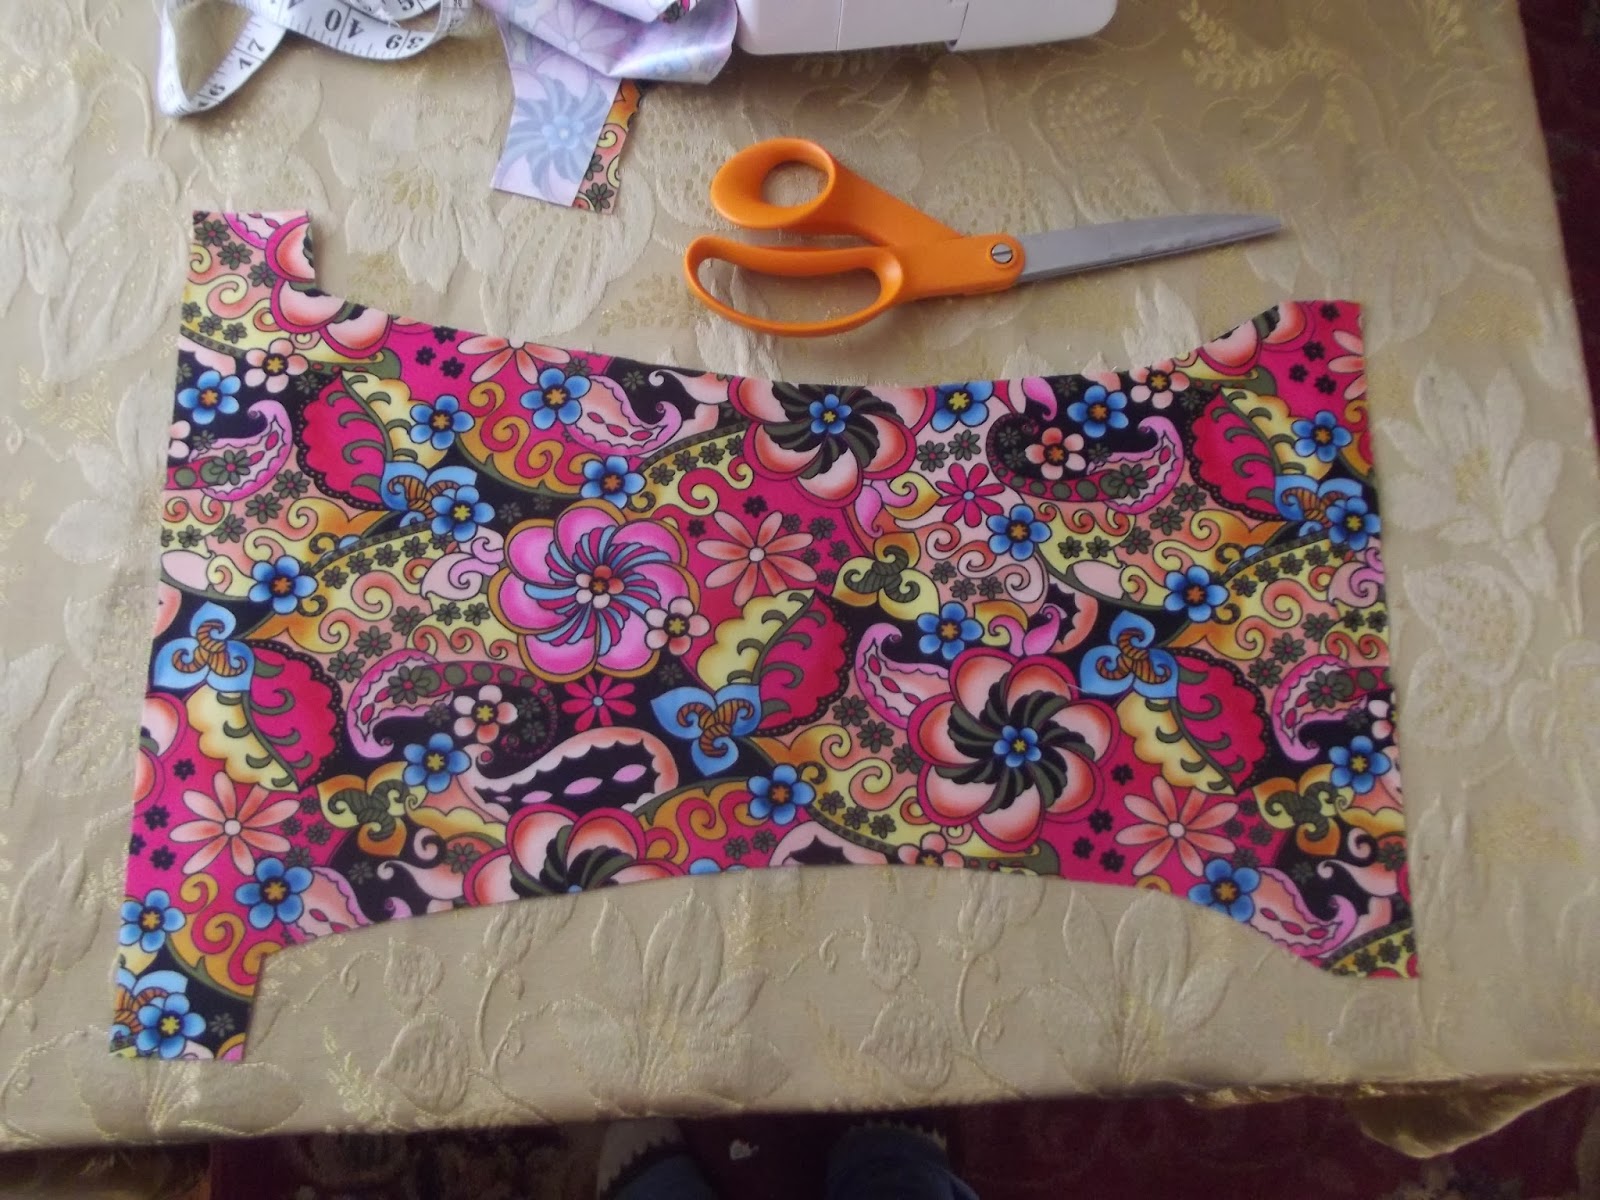
Here's a great use for PUL... A diaper cover! Talk about containing messes and needing a leak-proof way to do that. This will be a "size 3" diaper cover, because that's the size my little mess-maker is currently wearing. We will be using a 19"L by 13"W scrap of PUL, a little over 2 yards of fold-over elastic, and some hook and loop for the closure (Velcro is an example).

I use a template from other diapers I have made, but you could trace around a diaper you currently have. Or free-hand it! First, I fold the fabric in half, then I place the template on, then I cut both layers of fabric at once to keep things symmetrical. Once your cover is cut out, you're ready to add elastic.


Fold-over elastic is a great thing. Instead of having to be sewn in a hidden casing, it's folded around an edge of fabric and stretched while sewing. Once you get the hang of it, it's a very convenient way to use elastic on the outside of a project.


Lay the elastic so the wrong side (soft side) is facing you. Lay the back of your diaper cover over it, and line it up with the middle of the elastic.

The elastic will then fold over very easily over the top, and you can put it all under your presser foot.
Make a PUL sandwich.

Once everything is situated, you can stretch the elastic over the PUL and get sewing.

Use a wide zig-zag stitch so that you can get the maximum stretch out of your diaper cover. Starting at the back, stretch the elastic as far as it will go, while sliding in the PUL so it's flush with the inside crease. Stretch your elastic, then pull some more! (It helps to keep a hand behind the machine to guide the fabric out, since you will be working against the feed dogs by stretching toward you.) Stretch as much as you can for the back of the cover. When you reach the tabs, don't stretch it at all. Before you reach the end, snip the elastic (not all the way through) so you can turn the corner without much bulk.


Then comes the back of the leg, where you will also want to stretch as much as you can. When I reach the front of the leg, I only stretch half as much. And when I reach the front, I don't stretch at all. Go all the way around, and meet the elastic at the back. Sew back and forth a bit to lock up the stitches.
A quick reference as you sew:
Back: Full stretch (stretch as much as you can, then stretch some more!)
Tabs: No stretch at all
Back leg/buttocks: Full stretch (most important place to get a full stretch of elastic)
Front leg: Half stretch
Front: No stretch at all
Front leg: Half stretch
Back leg/buttocks: Full stretch
Tabs: No stretch at all
Back: Full stretch


Nice work! See how the back puckers out, but the front lays flat? Now you'll need some way to keep the diaper on. I like hook-and-loop for the snuggest fit. Sew a strip of loop (soft) across the front. Remember to switch your stitch to a straight line!

For tabs, I like to sew the hooks and loops onto a strip of fold-over elastic before attaching them to the diaper. This way, I have a little bit of stretch as I'm putting the diaper on. Also, I like to trim the corners, so it's not a sharp angle rubbing against the baby's skin. Sew on a bit of loop (soft) and a bit of hook (scratchy), one for each of the two tabs. Then attach them to the diaper. The soft bits will act as a "laundry" tab. Stick the loop parts here when the diaper is not in use. Remember to keep the loops on the outside!


Trim up the threads and admire your work!


Go ahead and try it on...


Enjoy your new diaper cover!
No comments:
Post a Comment